blog
3D Printing with 3D MARS white PLA: pass-through wallplate, paper towel holder, right-angle spool holder, shower curtain rings, and a prototype case
by snm, February 8th, 2018
This is a follow-up to 3D printing with the Monoprice Select Mini v2: first impressions and prints: a saddle, knob, guard, guide, spinner; a cube and clip; squeezer, holder, dish; case, stand, fingers, and carousel, where I detailed my first experience with the MPSMv2 3D printer, using AIOWHITE filament. Since then I’ve ran out of that filament, so in this post I’ll detail what I have done since, including setting up a webcam for remotely observing the printer, and my first prints with a new roll of filament (3D MARS white PLA): a wallplate to pass through cables between walls, a holder for paper towels in the kitchen, a spool holder for angling the filament at 90 degrees, new and improved shower curtain rings that don’t let the curtain slip, and lastly a tray and box for enclosing 5x7cm electronic circuit boards.
Remote monitoring using Pi Zero camera
Octoprint runs on a single-board computer and provides remote 3D printer management and monitoring. And slicing. Instead of copying to an SD card from your computer, you can use the Octoprint interface on the network. Watch your prints from a camera as well. Cool beans.
Runs well on a Raspberry Pi. I have a Pi Zero, which I was building into a laptop:
- Building a small custom Raspberry Pi Zero laptop in a cardboard box
- Custom laptop upgrades: internal breadboard, power indicator, and larger case
- Custom laptop power management: external activity, power on button, graceful power off, hard power switch
- Custom laptop charging: adding a USB charging port and module
but a 3D printer controller is more imminently practical. Well, not quite the 3D printer controller. The Monoprice Select Mini v2 has an STM32F103 ARM processor for controlling the 3D printer itself, then an ESP8266 for the Wi-Fi and display, and then we could add a Raspberry Pi for storage and monitoring. All of the trendiest computer systems: STM32, ESP, RPi.
But running this software on a Zero is not recommended, from the OctoPrint lead developer foosel:
But honestly, at this point I cannot recommend the Pi Zero W for OctoPrint, at least not if you also want to use the webcam streaming functionality. Maybe a future update will change that though, who knows.
and in the installation script there is this disclaimer:
echo “It is not recommended to run the desktop environment” echo “alongside OctoPrint if you do not have a Pi with” echo “multiple cores (e.g. Pi1 or PiZero). Even then, use” echo “at your own risk.”
Since Octoprint drives the printer (through the USB connection), if the system it is running on is sluggish then this can cause suttering during the print, not good. Printing from the SD card instead doesn’t have this problem since the internal ESP sends the G-code. But a camera view would be very useful.
There is also Astroprint, broken down here: Discussion: Pros/Cons of Octoprint, Astroprint, and similar software.. It is more “cloudier” than Octoprint, but is based on it.
Finally, Repetier Server is another option.
But how about something simpler, just a remote camera feed. Instructable: Raspberry Pi Remote Webcam suggests using the motion package:
sudo apt-get install motion
install then edit /etc/motion/motion.conf, change to daemon off to on and stream_localhost off to on, and also /etc/default/motion’s start_motion_daemon=no to yes, then run with sudo service motion start and visit http://localhost:8081/.
Bought this camera for the Pi Zero: SainSmart Brand New Camera Module 5MP Mini Size for Raspberry Pi Zero, unlike the official Raspberry Pi camera no adapter cable is needed for the smaller CSI port, it plugs directly into the Zero.
Plugged the camera in with motion running, first it showed a “Unable to open video device” error on the web interface, but the camera interface has to be enabled with raspi-config, see Setting up the camera hardware. After making this change, still an error. Test with raspistill -v -o test.jpg, this failed but noIR Camera not working suggested it might be a power issue, so I unplugged the Wi-Fi adapter and then it was able to capture without error. And yet, motion still complains, and /dev/video0 doesn’t exist, what gives? Found the fix here: /dev/video0 missing:
sudo modprobe bcm2835-v4l2
Add bcm2835-v4l2 to /etc/modules-load.d/modules.conf to load on startup. Now the webcam works, time to integrate it with the 3D printer.
First problem: network connectivity. The Pi Zero doesn’t have built-in Wi-Fi (the Pi Zero W does, which I don’t have), and the USB Wi-Fi Ethernet adapter I have draws too much power when the camera is also on, and a USB Ethernet adapter works alright but my printer is located too far away from Ethernet outlets. Possible solution: a Wi-Fi client to Ethernet bridge. A Linksys router running OpenWrt, see Luci (openwrt) wifi bridge client - how to configure?. The instructions differed from the version of OpenWrt I was using (OpenWrt Backfire 10.03.1), but setting the Wi-Fi to client mode on the LAN vlan worked, acting as a Wi-Fi to Ethernet bridge. Although, for unknown reasons, I had to 1) add a static DHCP map for both Ethernet and Wi-Fi MAC addresses on my DHCP server, and 2) power up the router without any Ethernet cables plugged in, in order to have it associate to the Wi-Fi network and bridge to Ethernet. But now that that’s out of the way, time to move this contraption near the 3D printer.
I positioned the Raspberry Pi Zero plus camera, as installed in my makeshift cardboard “laptop”, on top of an appliance and facing the 3D printer, tethered to the OpenWrt router over Ethernet. This setup unfortunately requires two AC power outlets (to a 5V adapter for the Pi and a 12V adapter for the wireless router), a weakness to be improved. But it works as a prototype. Rotated the box and taped the camera in place so the printer is in frame (a 3D-printed mounting arm would be a good idea later). It only shows up when lights in this room are turned on, so I guess I’m leaving my lights on, lest I want to invest in a night vision camera instead. The camera turned out to be upside-down, so a final adjustment in software was needed, in /etc/motion/motion.conf change rotate 0 to:
rotate 180
finally done. Honestly it is probably a better idea to go with a Raspberry Pi 3 and use Octoprint (or at least a Pi Zero W with the camera), but I used what I had on hand and made it work. A closeup of the webcam view of the printer printing:

After running overnight, motion quit, with this in /var/log/motion/motion.log:
[1:ml1] [NTC] [EVT] [Feb 04 17:53:49] event_newfile: File of type 1 saved to: /var/lib/motion/59-20180204175349-00.jpg
[1:ml1] [ERR] [ENC] [Feb 04 17:53:49] ffmpeg_avcodec_log: Too large number of skipped frames 60007 > 60000
[1:ml1] [ERR] [ENC] [Feb 04 17:53:49] ffmpeg_put_frame: Error while writing video frame: Cannot allocate memory
[1:ml1] [NTC] [ALL] [Feb 04 17:53:49] motion_loop: Thread exiting
[1:ml1] [NTC] [STR] [Feb 04 17:53:49] stream_stop: Closing motion-stream listen socket & active motion-stream sockets
[1:ml1] [NTC] [STR] [Feb 04 17:53:49] stream_stop: Closed motion-stream listen socket & active motion-stream sockets
restarted with sudo service motion restart and it is back up and running, but what went wrong?
A couple more tweaks: in motion.conf, change stream_auth_method to enable authentication. Setup a reverse proxy on another web server.
Running overnight, it stopped working again. SSH into the Pi, the 8GB SD card is out of space! /var/lib/motion took it all up with the periodic screenshots. Removed all these files and motion now runs again. Is there a way to limit or garbage collect /var/lib/motion? I’d also like to drop the 12V voltage to 5V to allow supplying power through one supply, and mounting the camera in an arm and/or case, along with a remote control emergency shutoff… eventually. Onto the prints:
Prints
New filament: 3D MARS White 3D Printing Filament,3D Printer Filament 1.75mm PLA,Dimensional Accuracy +/- 0.05mm,1.2kg Spool,1.75 mm PLA 3D Filament for Most 3D Printer & 3D Printing Pen for $18.99/1200g = $0.0158/g. This is a larger spool but cheaper per gram than the $0.0240/g half spool AIO Robotics AIOWHITE PLA 3D Printer Filament, 0.5 kg Spool, Dimensional Accuracy +/- 0.02 mm, 1.75 mm, White I printed with first. The 3D MARS filament received a good review in 3DMars White PLA Review by Fugatech 3D Printing. Enough talk, opening the box it comes vacuum-sealed:

The 1.2kg spool from 3D MARS (left) is much larger than the 0.5kg spool from AIO (right):

For a comparison, printed another money cat (cat.gcode on the factory SD card) with the 3D MARS filament, to compare to the AIO filament. For some reason, I printed it at 200 degrees instead of (not sure what I printed the AIO at). Anyways, it completed without incident:

Looks about the same as the print with the other filament, 3D MARS (left) had slightly more noticeable layers than the AIO (right), but this may be attributable to environmental conditions:

Wallplate
| Model | Cable Pass Through Wall Plate by Teece, published Nov 8, 2017 |
|---|---|
| Layer height | 0.15mm |
| Infill | 0% |
| Estimated print time | 5:07 |
| Actual print time | 5:26 |
| Estimated filament length | 8.63m |
| Estimated filament mass | 25g |
| Filament used | 3D MARS White PLA, $18.99/1200 g |
| Estimated cost | $0.40 |
WALLY - Wall Plate Customizer by TheNewHobbyist, published Feb 7, 2013, allows customizing to change the ports. But found another simpler meeting my needs, Cable Pass Through Wall Plate by Teece, published Nov 8, 2017. Printing:

Here it is almost done:

The tapered protrusion goes into the wall providing a guide and aesthetically pleasing appearance from the outside. Before I printed this pass-through plate, I had a solid off-the-shelf plate in its place, an ugly hack with wires running through:

Taking off the old plate, comparing side-by-side, they are compatible (though the printed part required filing out the holes to make the screws fit, reused the original screws, filed using the round file from Needle File Set (HIGHEST QUALITY 6 PIECE SET) Hardened Alloy Strength Steel - Mini Needle File Set Includes Flat, Flat Warding, Square, Triangular, Round, and Half-Round File.):

After installing the printed passthrough plate, it is much cleaned up:

I liked this so much I printed two. The second I had some trouble with getting a larger plug head through, but nothing the judicious application of heat and force using a hot air gun (again, the Youyue 858D hot air gun first look proves is usefulness) can’t solve. Another great success.
Paper towel holder
| Model | |
|---|---|
| Layer height | 0.2mm |
| Infill | 30% |
| Estimated print time | 13:32 (8:31 + 5:01) |
| Actual print time | 14:46 (9:23 + 5:23) |
| Estimated filament length | 32.93m (20.68m + 12.25m) |
| Estimated filament mass | 97g (61g + 36g) |
| Filament used | 3D MARS White PLA, $18.99/1200 g |
| Estimated cost | $1.54 ($0.97 + $0.57) |
Original is Paper Towel Holder by areeve20, published Jan 23, 2013, but fixed followup Paper Towel Holder v2 by kr15_uk, published Apr 28, 2016. Went with V2, sliced TowelPart1_V2.STL and TowelPart4_fixed.stl together, barely fits. 0.2mm layer height, 30% infill. 8:31, 20.68, 61g. Completed in 9:23. I sliced part 3 separately, same settings, estimated 5:01, 12.25m, 36g, completed in 5:23.
This is a wide object and I barely fit in into the print area in Cura, but it actually printed slightly off the build surface (BuildTak) onto the aluminum!

A closer look, it is definitely slightly inching over to the aluminum:

but I let it finish and it came out fine:

It was actually easier to get off. The second file (towel part 3) also printed slightly over:

Here is where problems arose. When slipping under to pry it off, I slipped under the build surface and lifted part of it off the aluminum plate. Fortunately, not too much before I noticed the error, and I quickly pressed it back. Not perfect, so I applied kapton tape (heat-resistant) to keep it down:

Will have to remember to now avoid printing in this area to avoid further problems. However, as the official Monoprice MP Select Mini v2 How To video disclaims, the included BuildTak surface doesn’t last forever, and should be considered consumable. I got 116 hours of printing time out of it before this damage occurred (ignoring the damage from a nozzle strike on the very first real print), so I’m not too disappointed. A glass bed expansion replacement is in the cards. Anyways back to the paper towel holder. Three pieces:

The middle piece snaps into the left holder:

Actually, this is backwards! As you can see there are recessions for the screw heads to rest in, so the piece with the snap-in part should be flipped over. Corrected orientation:

Now a paper towel roll can be suspended between the two pieces:

The next step would be to mount it somewhere, such as underneath a cabinet above a kitchen sink, using screws. But it works fairly well just sitting on the counter, even though it isn’t designed as such.
How does the cost-effectiveness of this 3D-printed paper towel holder compare to commercial alternatives? Searching Amazon, these two are most comparable products:
- Rubbermaid Cabinet Door Mounted Easy-Change Paper Towel Holder, White Easy Change (FG2364RDWHT), $10.54
- Ekco 1094978 Paper Towel Holder, White, $6.19
The 3D-printed object totals $0.97 + $0.57 = $1.54 of raw material, or only 25% of the price of the Ekco, and 15% of the price of the Rubbermaid. We’ll see how it holds up over time, though, there are reports in the comments of the PLA breaking under force.
Right-angle spool holder
| Model | MPSM right angle spool holder adapter by justinschmitt, published Jan 14, 2018 |
|---|---|
| Layer height | 0.175mm |
| Infill | 20% |
| Estimated print time | 3:53 |
| Actual print time | 4:10 |
| Estimated filament length | 8.87m |
| Estimated filament mass | 26g |
| Filament used | 3D MARS White PLA, $18.99/1200 g |
| Estimated cost | $0.41 |
A simpler newer design than others, for a more direct feeding instead of at a right angle. Remove the factory spool holder arm, and the right-angle adapter slides in easily, and the metal arm onto the end of it:

The filament spool is now installed on the front of the printer. It only goes one way, the angle isn’t straight on though:

Maybe it is conflicting with the filament guide I previously installed, would that make the angle less sharp?

Either way, I tried another print with it. It didn’t turn out so well:
The hotend was moving but nothing being printed, a closer look from the bottom shows it is curling around the nozzle:

Removing the right-angle adapter and leaving only the filament guide, repeating the same print, so far so good:

Leaving off this right-angle adapter for now. It may be simply not compatible with the filament guide, but I’ve had good success with the filament guide alone so I’m leaving it on for the time being.
Shower curtain rings
| Model | Shower hook....kind of with a scorpion tail by SwimmingNaked, published May 30, 2013 |
|---|---|
| Layer height | 0.2mm |
| Infill | 0% |
| Estimated print time | 5:12 (12 * 0:26) |
| Actual print time | 5:55 (0:29 + 0:28 + 0:32 + 0:34 + 0:32 + 0:32 + 0:32 + 0:36 + 0:35 + 0:33 + 0:32) |
| Estimated filament length | 12.12m (12 * 1.01m) |
| Estimated filament mass | 36g (12 * 3g) |
| Filament used | 3D MARS White PLA, $18.99/1200 g |
| Estimated cost | $0.57 |
The curtain in my shower is attached to the shower bar with 12 rings, but they have about a 1” gap which allows the curtain to slip off too easily. This happens:

Would like something more secure.
There are a bunch of different designs available, the most basic is perhaps Shower curtain hook by xonegon, published Jun 28, 2013, a simple stretched ring, but the designer had to add a larger gap than what he replaced since the material wasn’t as flexible. More secure, how about a latching mechanism: A Thing to hold up your shower curtain. by Montydiy, published Jan 24, 2015. Layer height 0.2mm, infill 0%, one ring is 0:58, 2.32m, 6g. It does look kinda big, may want to scale it down. The rings in my shower already are 2.5” top-to-bottom, these are nearly 4”. Another Shower hook….kind of with a scorpion tail by SwimmingNaked, published May 30, 2013, the designer created it because he encountered the same problem I have:
We needed shower hooks, since the ones we have tend to fall off the curtain rod. These work very well and don’t bind up or slip off.
Printed at 0.6 infill on a Printrbot LC. The opening for the rod is 4cm…our rod is 3cm and this works well.
Slice at 0.2mm, 0% infill (what does “0.6 infill” refer to from the author?). A quick print, not too large. Completed:

Their rods were 3cm, mine is 1”, which comes out to 2.54cm, so this should fit, if with an extra space. Testing it out including a shower, worked superbly well, no curtain slippage at all. The design doesn’t allow it, very secure:

Compare to the shower hooks I previously had purchased from a bathroom supply store, they have a design flaw where the same loop is used to cover both the bar and hold up the bar, so it has to be wide enough, but the printed scorpion-style hook has two hooks, sized appropriately for their function:

The upper hook could be resized to smaller to better fit my bar more snugly, but it is passable. The important part is the bottom hook for the curtain. Another discrepancy is the new hooks hang the curtain about half an inch lower, but this problem can be avoided by replacing them all, 12 total in my case.
Printed several more, in theory could print multiple together but my bed is not completely level and I have mixed results on the left side so I always adjust to print towards the right, and I could fit three of this object on the bed in Cura but printing failed due to poor initial layer adhension (a problem to be fixed by an improved bed, such as glass), nonetheless I can print one by one reliably so that’s what I’m doing. Five installed:

It took a few days of on-and-off printing, since I did each one individually, but I finally completed and installed 12 in all:

The new hooks function extremely well and haven’t slipped off yet. I was worried about slipping off the bar but it hasn’t been a problem, and the curtain has no chance. Slimmer than the old hooks, more compact and they also have improved aesthetics in my opinion, a nice clean white appearance, but of course time will tell how they stand up to long-term usage. Here’s another view of them all bunched up:

I’m getting a lot of use out of this 3D printer, but it was at this point the print bed showed increase warping where I printed this object many times, and pulled it off (had some trouble removing it, the included print scraper was insufficient, so I had to start it with a sharp knife):

Prototype case 5x7cm
| Model | Prototyping Board Tray + Box (5x7cm) by uvwxy, published Jan 29, 2018 |
|---|---|
| Layer height | 0.2mm |
| Infill | 0% |
| Estimated print time | 4:09 |
| Actual print time | 4:23 |
| Estimated filament length | 9.16m |
| Estimated filament mass | 27g |
| Filament used | 3D MARS White PLA, $18.99/1200 g |
| Estimated cost | $0.43 |
I have a few of these 5x7cm prototype boards: MCIGICM 10Pcs high quatity!! new Prototype Paper Copper PCB Universal Experiment Matrix Circuit Board 5x7cm Brand.
Found this model: Prototyping Board Tray + Box (5x7cm) by uvwxy, published Jan 29, 2018. Enclosed except for the side, the board slides into the tray and the side caps it off. Not like the Adafruit design where the top snaps in. But I’ll give it a go. Both parts fit in the print area at once.
It is unfortunately not a top/bottom snap-in case. The design of printing both the bottom and top of the box in one print creates an overhang which may lead to stringiness on the roof:

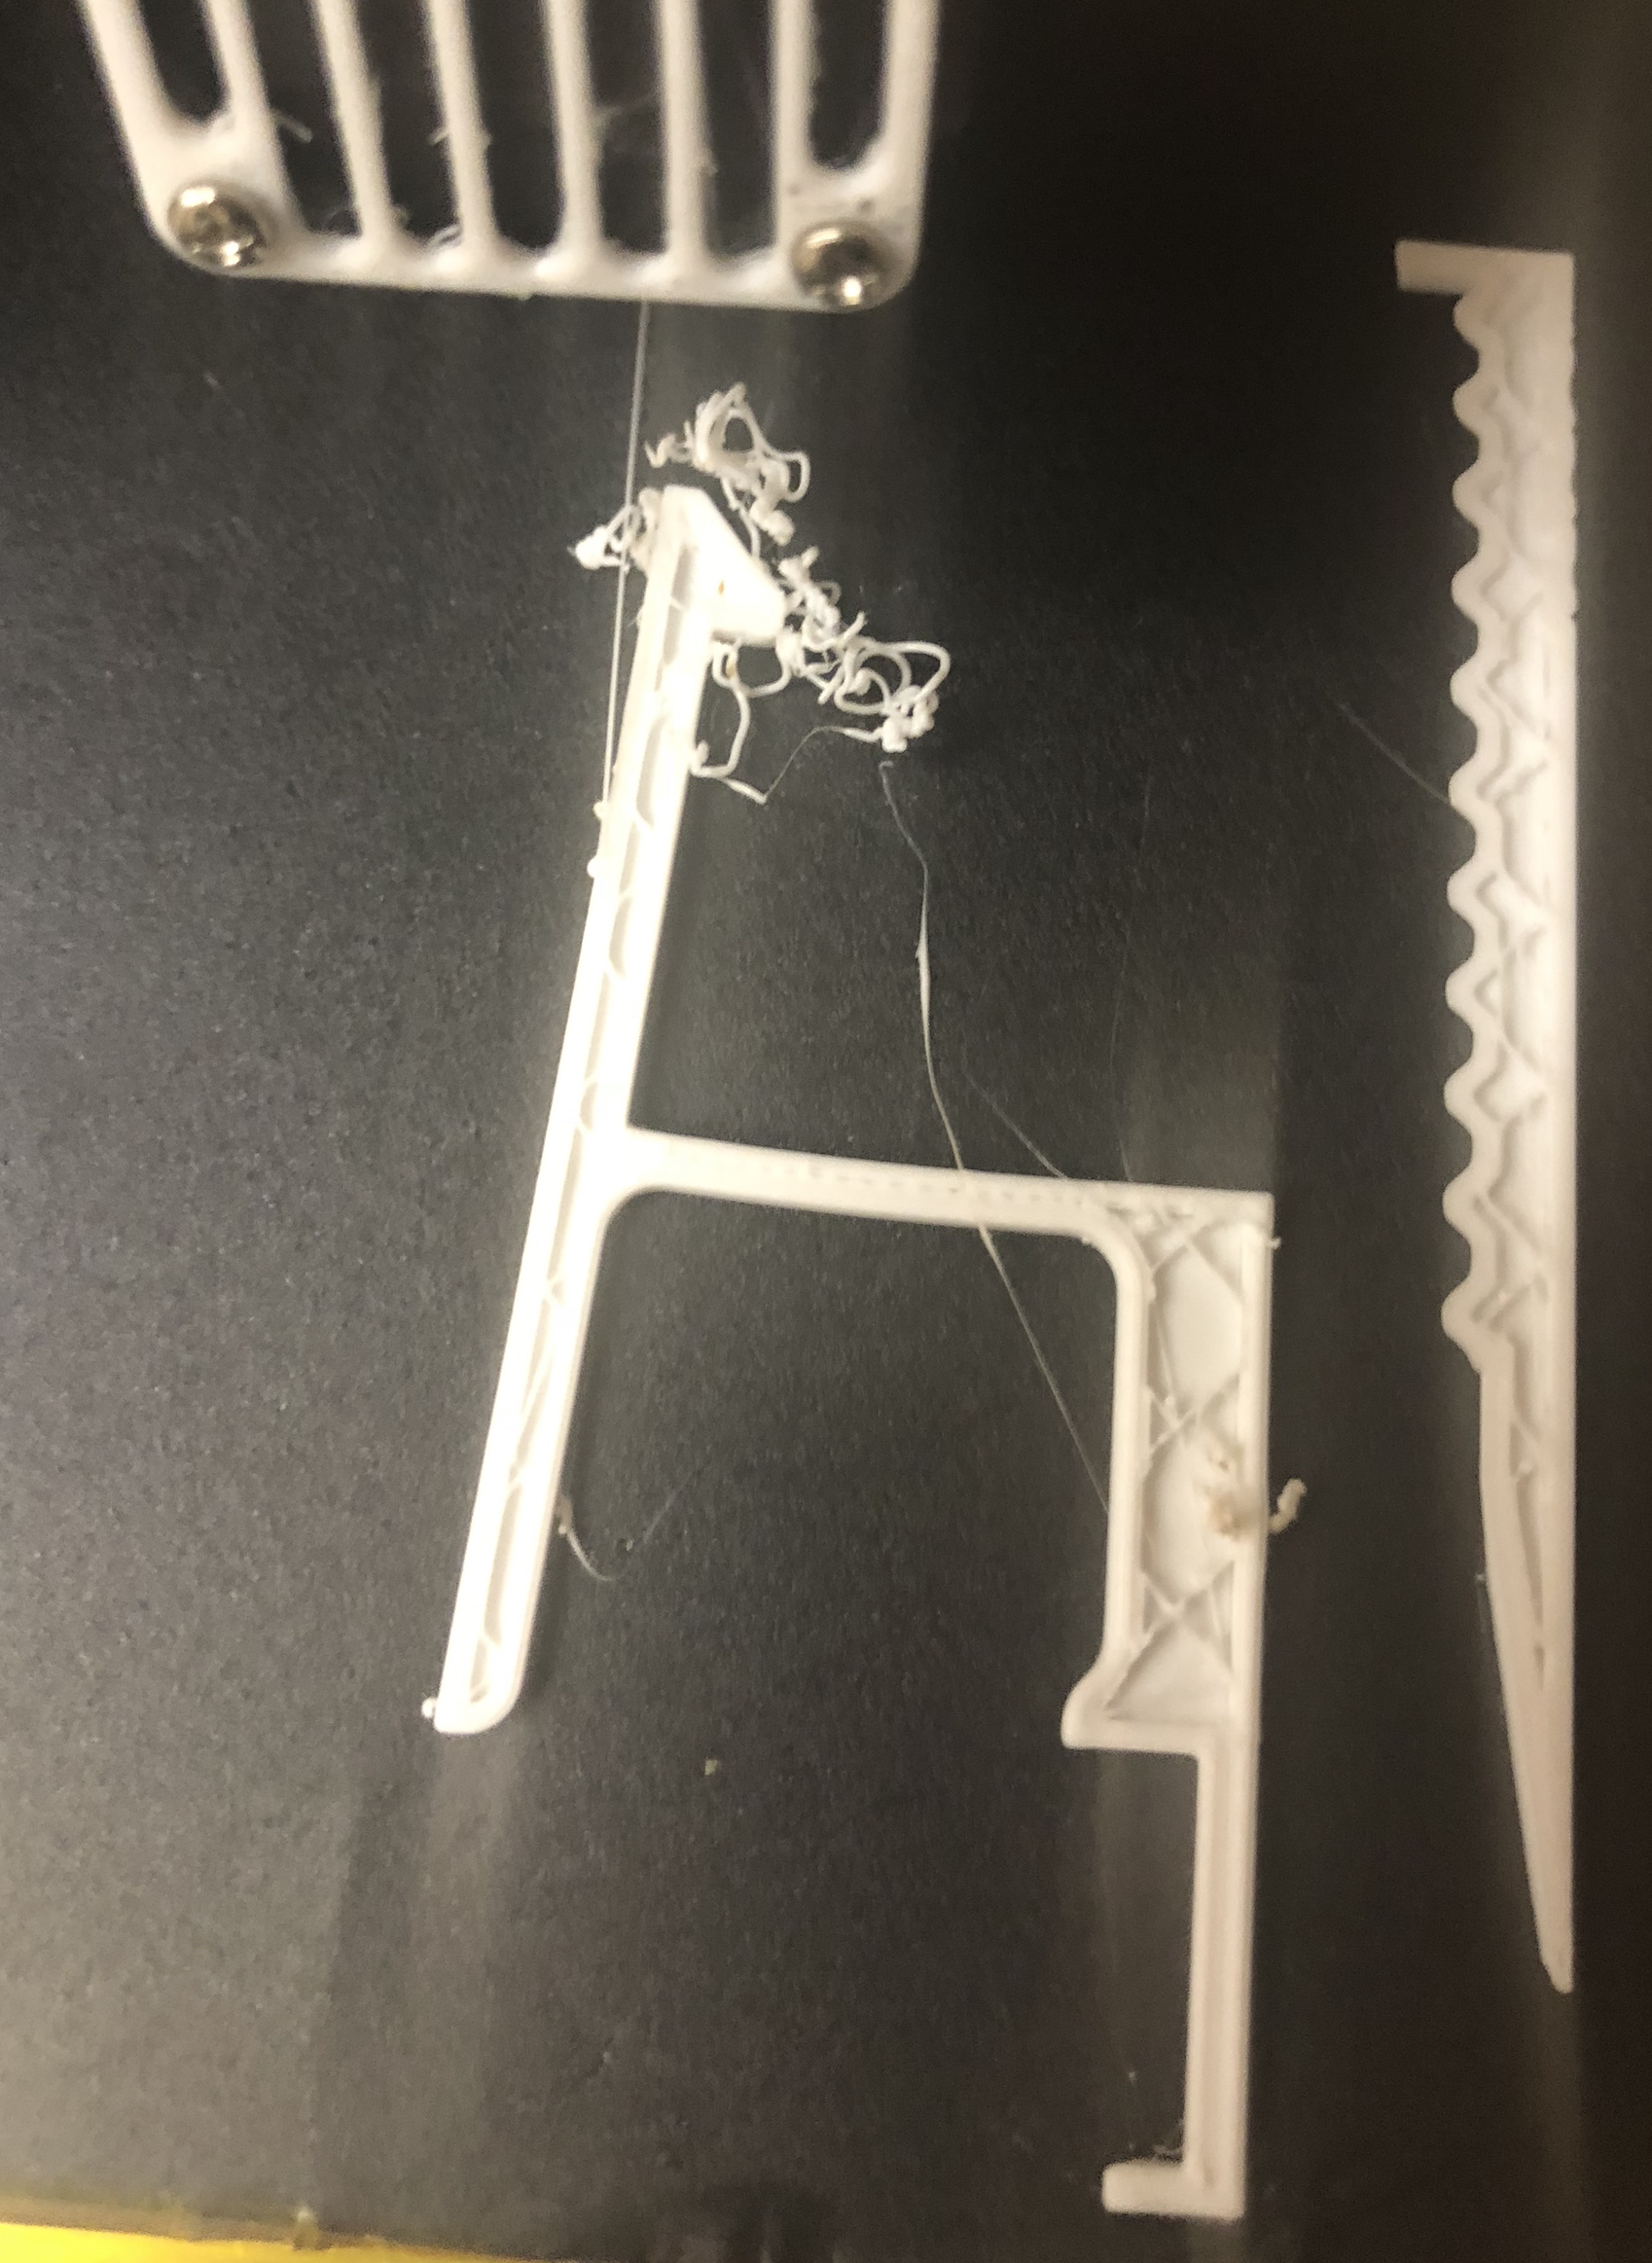
A head-on view of the stringiness:

The back piece inserts into the missing face:

I’d like to use thie enclosure for the wall switch board from The smart bulb / smart switch dilemma: smartening up a dumb wall switch:

But it doesn’t quite fit, in either dimension. The ESP8266 module (a Wemos D1 mini) is too tall, but also this particular prototype board has card edge connectors making it too wide, and it is actually a 6x8cm board, specifically this one 5pcs 6x8cm Double-side Prototype PCB Universal Printed Circuit Board:

Designing a proper enclosure would likely require creating a custom model, couldn’t quickly find anything already made for these 6x8cm prototype boards. I have a couple random circuits on the 5x7cm boards, but couldn’t fit any because the components protrude too far up:

So this enclosure is not immediately useful, but I’m saving it for a potential future project using 5x7cm PCBs. Just need to bare in mind the Z dimension when building the circuit.
Conclusions
| Filament used | 3D MARS White PLA, $18.99/1200 g |
|---|---|
| Total estimated print time | 55:00 |
| Total estimated filament length used | 111.92m |
| Total estimated filament mass used | 328g |
| Total estimated filament % of roll | 27.3% |
This 3D printer continues to prove its worth, creating copious amounts of objects useful for everyday life. I’m satisified with the new filament, having used a tad more than a quarter of the 1.2kg roll, plenty remaining, the price is right and the prints are of high quality. All of the models were freely downloaded from Thingiverse, a vast universe of plenty of useful resources. I still have yet to fire up a 3D CAD modeling program, but further progress may require it.